Lab Report 1
Logging Into and Using Your Course Specific Account on ieng6 at UCSD.
Hello new and incoming 15L students! In this guide, you will learn the following:
- Installing VSCode
- Remotely connecting into the
ieng6server at UCSD - Basic Linux/Command Prompt Commands
- Moving files between a client & server
- Setting up an SSH Key
- Optimizing remote running
This guide will be formatted into multiple parts with explanations and screenshots of different steps. Screenshots will be included in spoilers as to not take up uncessary space.
» This is a spoiler, Click Me!
This is the inside of a spoiler where images will be located!On with it then!
Part 1 - Installing VSCode
- Visit the VSCode website (https://code.visualstudio.com/) and click the download button for your respective operating system.
- Run the installer if necessary, or if you downloaded a zip file, just unarchive that and drag VSCode to your Applications Folder.
- Open VSCode. You should be greeted with a window that looks something like this!
» Download Button
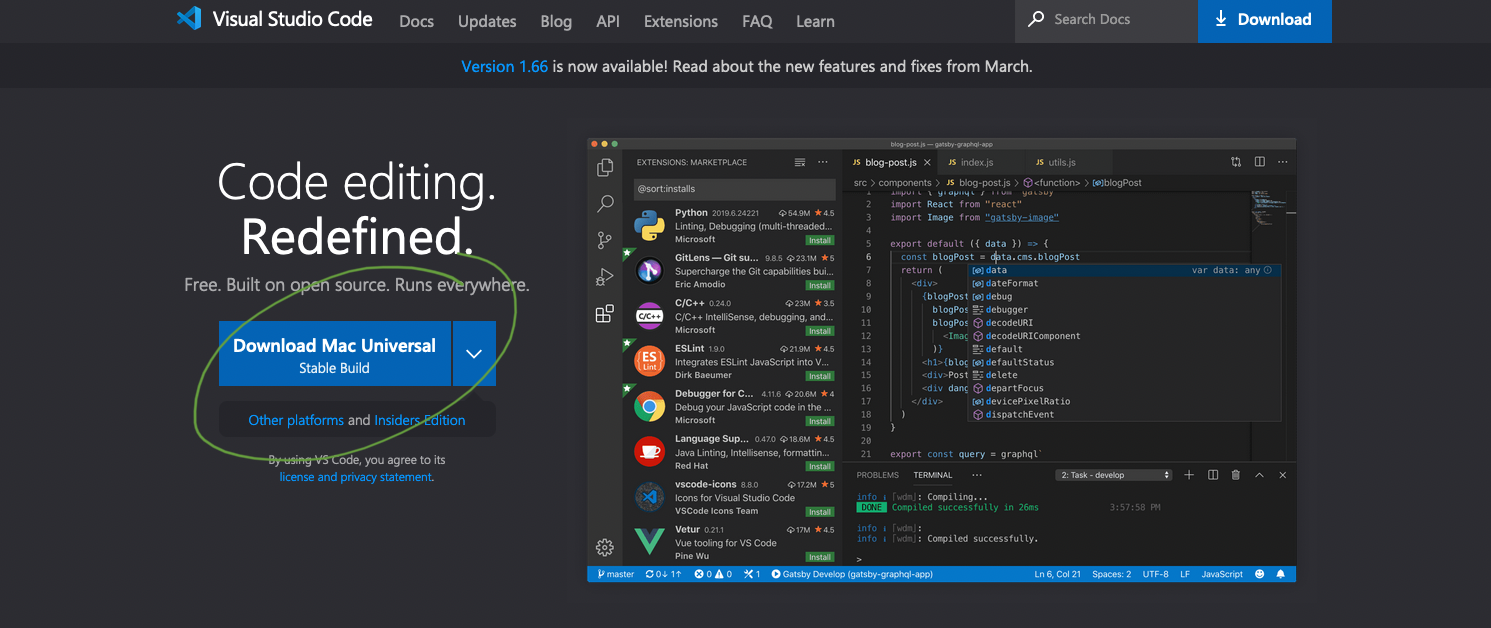
» VSCode Window

That is all for Part 1! You now have VSCode downloaded and installed.
Part 2 - Remotely Connecting into the ieng6 server at UCSD
To connect to the remote server named ieng6 at UCSD, we will be using the SSH command.
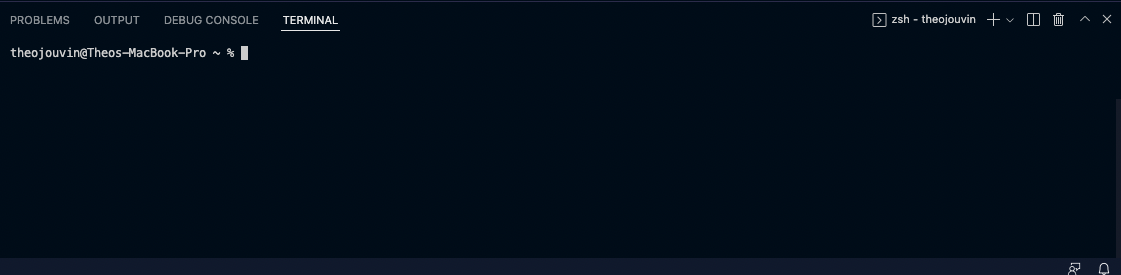
- At the bottom of your VSCode window, you should see a section labled Terminal.
- In that terminal section, enter the command
ssh username@ieng6.ucsd.edusshIs the command being run.usernameRefers to your course-specific account username. It most likely starts withcs15l. Enter your unique username here.@ieng6.ucsd.eduTells your computer where to connect to. In this case, it is theieng6server at UCSD.
- Once you press enter, you will be asked if you are sure that you want to continue connecting with a (yes/no) prompt. Enter
yesand press enter to save theieng6server as a known host on your computer. - Next, you will be asked for a password. Enter your course-specific account password here.
- You will not see your password being entered as you type it! Do not worry, this is normal. It is a security feature.
- Make sure you entered/pasted your password correctly, then press enter.
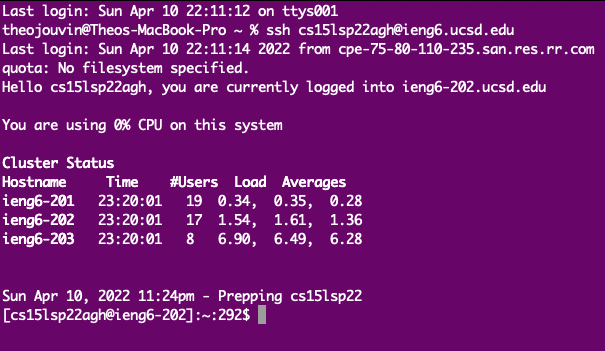
- At this point, you have successfully connected to the
ieng6server! You should be greeted with some welcome messages telling you the following:- Which specific server you are connected to.
- How much of the CPU you are currently using.
- Usage averages across other servers.
- The date and time.
» VSCode Terminal
» Welcome Messages

That is all for Part 2! You have now successfully connected to the ieng6 server.
Part 3 - Basic Linux/Command Prompt Commands
We will now go over some basic commands that are useful to know. As you go through this guide, try these commands yourself and see if you get the same outputs!
cd <directory>Try “/”- The
cdcommand can move you to different directories. In this case, with “/” you will be moved to the root directory of the server.
- The
cdorcd ~- Using the
cdcommand with no arguments or with the “~” symbol will bring you to your home directory.
- Using the
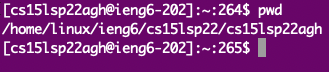
pwd- This command will print the current working directory.
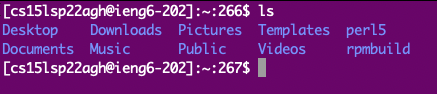
ls- This command will list all of the files in your current directory.
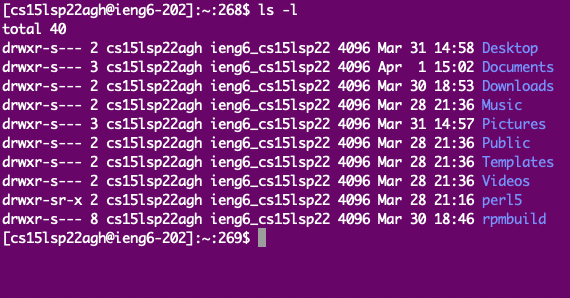
ls -l- The
lscommand with the “-l” argument will list all of the files in your current directory vertically, with in more detail.
- The
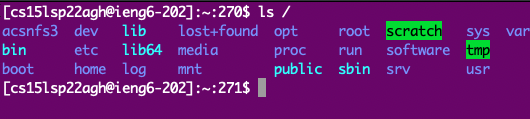
ls <directory>Try “/”- The
lscommand with “/” or any other directory for that matter will list files in that requested directory, even if you are not in it.
- The
cp /home/linux/ieng6/cs15lxxxx/public/README.instructor ~/- The
cpcommand will copy a file from one directory to another. Typing it as provided above (with the exception of changing “xxxx” to your current quarter and year) will copy the README.instructor file into your home directory.
- The
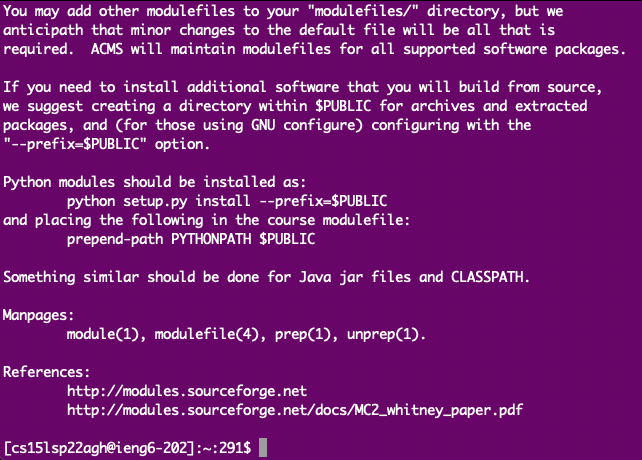
cat /home/linux/ieng6/cs15lxxxx/public/README.instructor- The
catcommand will display the contents of file. Typing it as provided above (with the exception of changing “xxxx” to your current quarter and year) will display the contents of README.instructor.
- The
» Command 1

» Command 2

» Command 3
» Command 4
» Command 5
» Command 6
» Command 7

» Command 8
That is all for Part 3! You now know a few basic commands.
Part 4 - Moving Files Between a Client and a Server
In order to move files between your computer and the server, you will be using the scp command.
- Before you learn about and run the
scpcommand, use VSCode to create a new file on your computer.- Name the file
info.javaand save it in your user directory. - Paste the following into the file:
  class info {
  public static void main(String[] args) {
 System.out.println(System.getProperty("os.name"));
 System.out.println(System.getProperty("user.name"));
 System.out.println(System.getProperty("user.home"));
 System.out.println(System.getProperty("user.dir"));
  }
}
- Name the file
- For this next step, make sure that you are disconnected from the
ieng6server. You can do this by runninglogout. - You are now going to transfer the file from your computer to the server using the
scpcommand.scp info.java username@ieng6.ucsd.edu:~/- If you correctly saved the file in your user’s directory on your computer, you won’t need to add the path to the file in the command.
- Again, the username portion of the command refers to your course-specific account username.
- ”~/” at the end of the command tells the server to have the file saved in your home directory.
- Once you press enter, you will be asked to enter your password.
- Once entered, the file will be moved to the server.
» File Transfer

That is all for Part 4! You have now successfully moved a file between your computer and the server.
Part 5 - Setting Up an SSH Key
Having to enter your password every time you want to log into or transfer a file to the server can take up a lot of time. Luckily, setting up an SSH Key can speed up this process tremendously! You will no longer have to enter a password every single time, and in general, this is a more secure method of logging into a server remotely.
- On your computer, run
ssh-keygen - You will be asked to name the file. Name it
id_rsaand press enter. - You will be asked to enter a passphrase. Do not enter anything, just press enter.
- A message will now tell you where your private and public key have been saved.
- The private key
id_rsawill stay on your computer. - The public key
id_rsa.pubsaved in your computer’s .ssh folder will be transferred to the server. This will be done using thescpcommand that was reviewed earlier!
- The private key
- You will now need to log into the server to create a .ssh directory there.
- Once logged in, run
mkdir .ssh- This command makes a directory, named .ssh.
- Log out of the server.
- Once on your computer again, run the command
scp ~/.ssh/id_rsa.pub username@ieng6.ucsd.edu:~/.ssh/authorized_keys- This is the last time that you will need to enter your password!
- This will transfer the public key into a file “authorized_keys” in the “.ssh” directory you created in a previous step.
- Try logging into the server again now. Notice that you will be automatically logged in without the need to enter your password.
» Logged In With No Password
That is all for Part 5! You have now successfully set up an SSH Key.
Part 6 - Optimizing Remote Running
Creating the SSH Keys in the last step was only the first step in optimizing remote running. Not having to enter a password everytime you want to move a file or run a command remotely saves a lot of time. However, even more time can be saved by running multiple commands to the server all in one line.
- Remember the Java file you transferred to the server earlier? You can tell the server to compile and run that file, giving you its output all in one line.
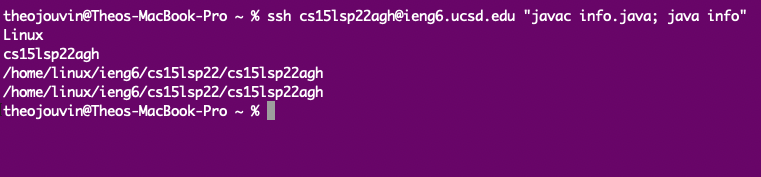
- Try running the command
ssh username@ieng6.ucsd.edu "javac info.java; java info"- This command will connect your computer to the remote server and tell it to first, compile the “info.java” file, then run the info class.
- Because the commands in the second half of the line are in quotes, they will all be run on the server.
- Including a semi-colon after the individual commands tells the server to run all of them.
- Let’s say you made an edit to the file on your computer and needed to re-transfer it, re-compile it, and re-run it. This can easily be done by using the up-arrow on your keyboard to go through previously ran commands.
- First, re-running the
scpcommand. - Then, re-running the one-liner with multiple commands.
- All of this done with only a few keystrokes, and without the need for a password to be entered on every run.
- First, re-running the
» Multiple Commands
That is all for Part 6! You have now optimized your remote running.